Hi All, for those who couldn’t be with us on Zoom last Wednesday, here’s a really quick overview of where we got to with the Ugly Monster making.
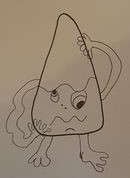
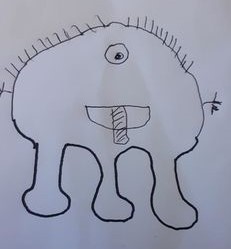
Cut open your Monster kit and tip out the contents. (We’ll be using the fabric from the bag later, so just cut along the top to open it!) You’ll find you’ve got a little booklet full of partly drawn monsters. We spent five to ten minutes finishing off these drawings, however we wanted to, just to get us in the mood for making some monsters. Here are a few we did on Wednesday

The great thing about Ugly Monsters is that they can be completely lumpy-bumpy and lop-sided and clumsy and still be fab. So if your sewing skills are rusty or even non-existent that’s not a problem!
Next, time to start with the fabric. Take the fabric bag that the kit came in, and pin the two layers together so they stay flat. Draw a monster body shape on the fabric, and cut out a shape about an inch (2-3 cms) bigger than your monsters body shape, all the way round. So, if you look at the pictures below, the solid line is your body shape, and you cut around the dotted line.


We sewed along the solid line we had drawn, so both layers joined together, using Back Stitch. Not everyone knows what that is. I’m happy to demonstrate it again on Wednesday, or you could watch the start of this Youtube video to get the idea. We don’t need to be quite so neat though, because we are fine with ugly!
Sew almost all the way round, leaving a gap of about 3 inches, (7-8cms). Then turn the shape inside out. The fat, blue package in your Monster Kit is full of stuffing! So open that up and use it to stuff your monster body nice and fat.
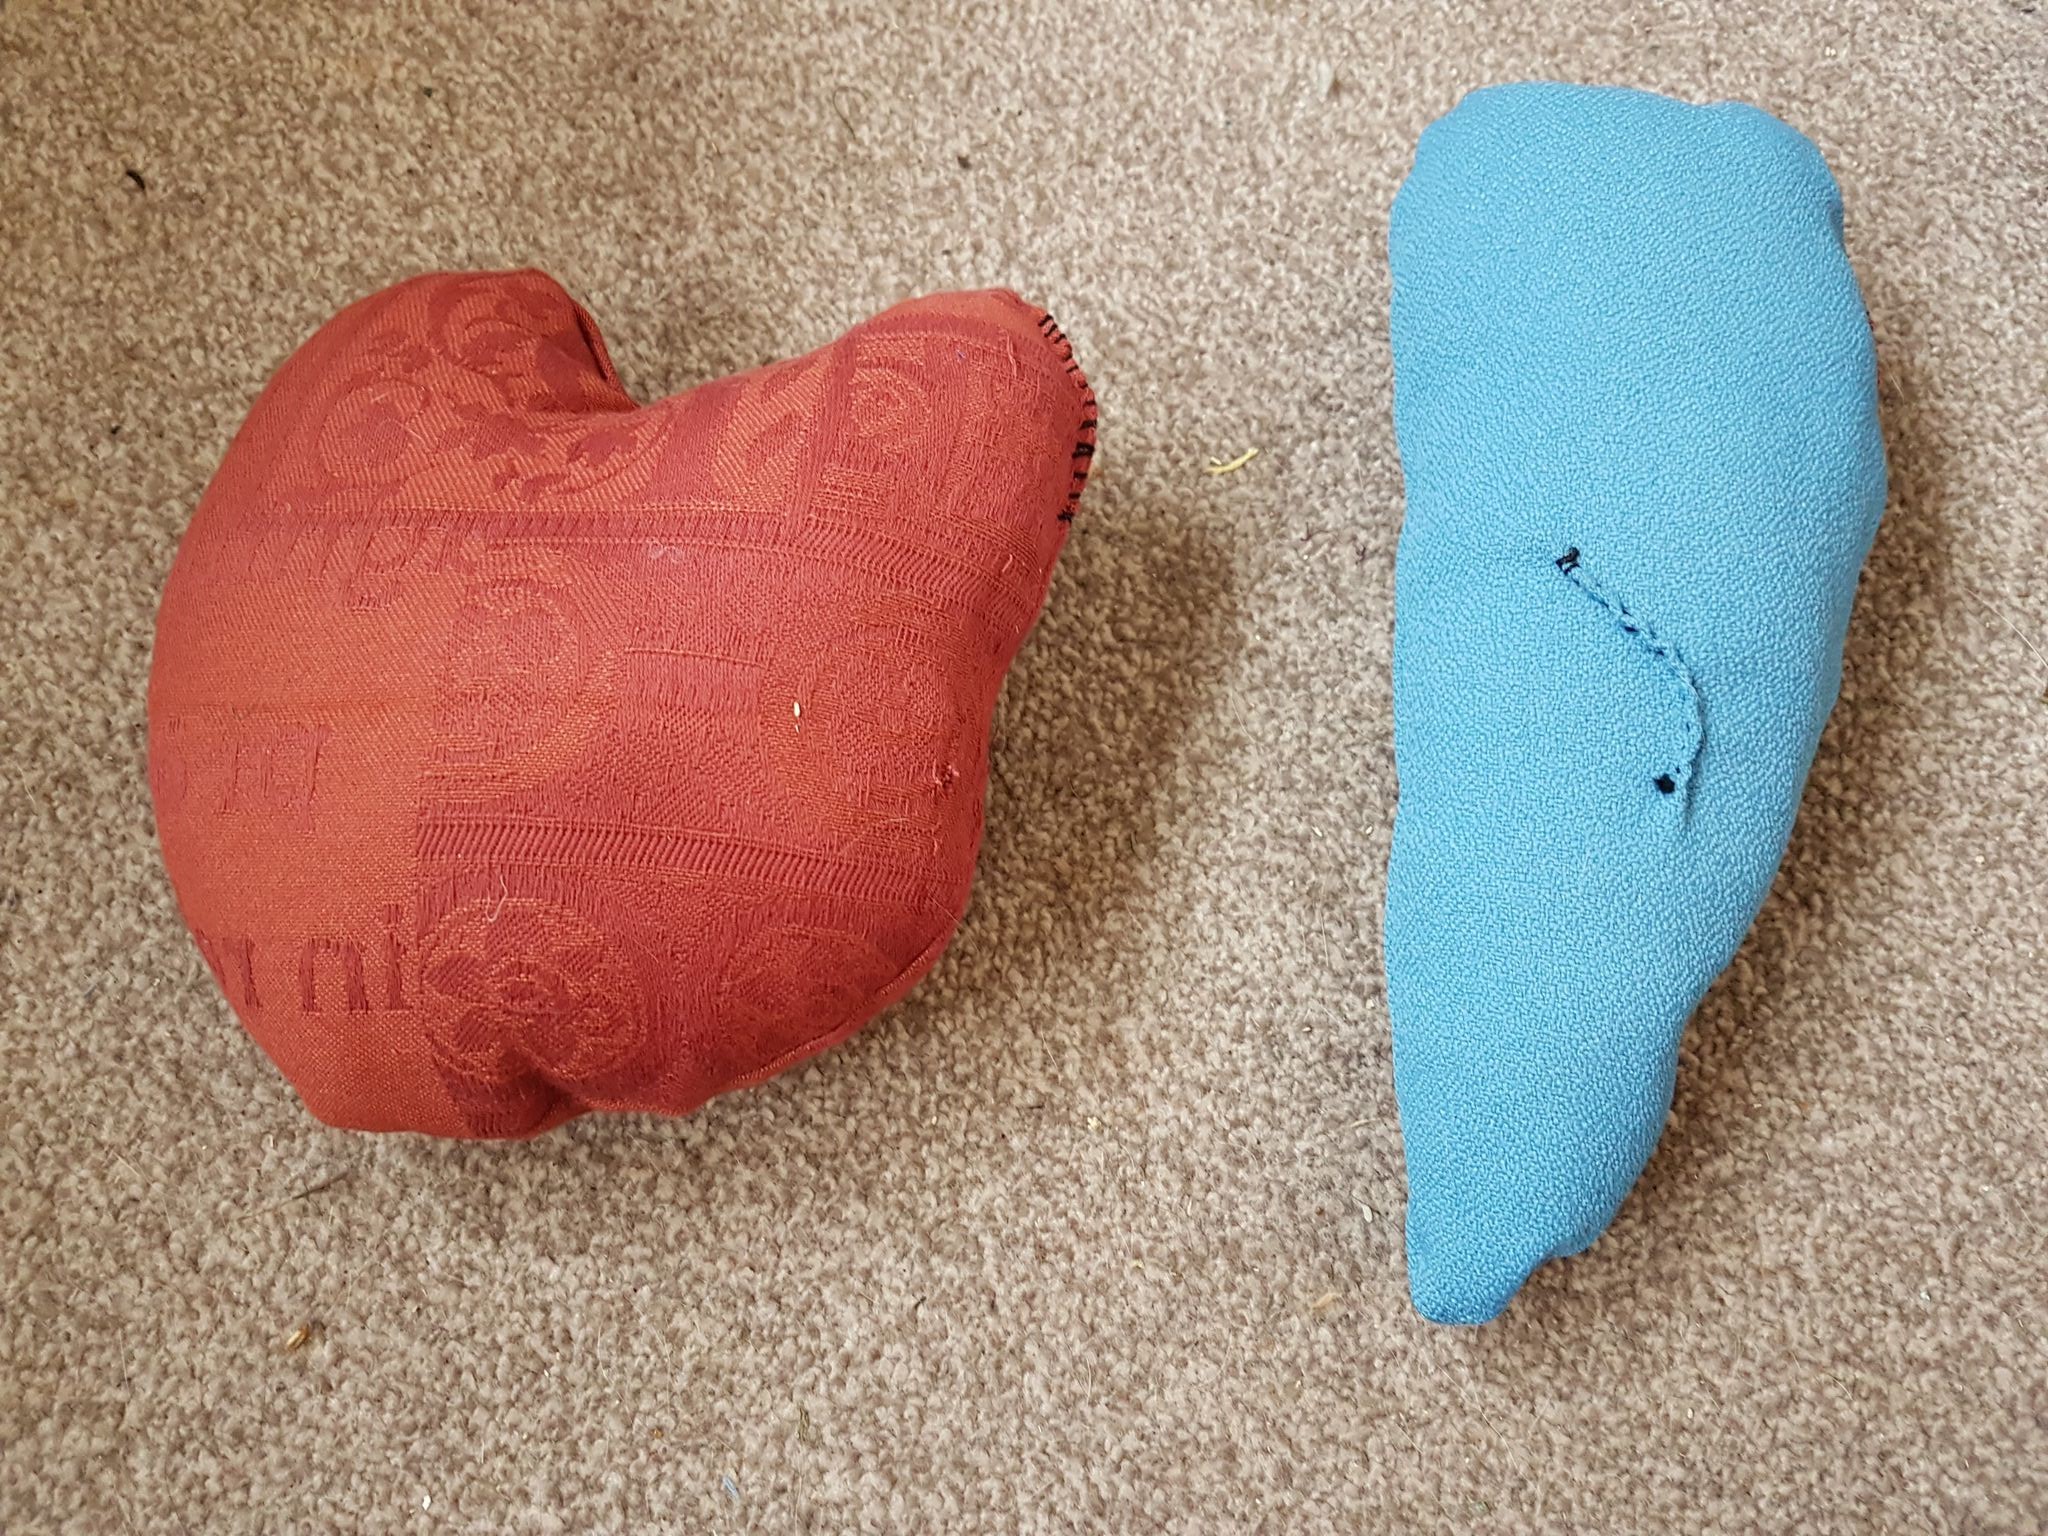
The last thing to do is to sew up the seam, so the stuffing won’t escape. Use a pin or 2 to keep the edges together if you need to. You can use more back stitch, but this time on the outside of the monster. If you know ladder stitch, you can get a very neat, invisible close. My favourite is to do an over stitch, like in this Youtube video. It will be visible on the outside of the monster, but that’s fine, it looks like a scar and gives it more character. Have a look at the picture for a couple of monster scars, and the type of thing we all ended up with by the end of last Wednesday.

Hopefully that makes some sort of sense. Feel free to ask me questions on the WhatsApp group. Or if you want to start from scratch this coming Wednesday, that’s fine. We can take it at whatever speed works best.
Hope that helps. Looking forward to seeing you all this Wednesday for some arms, legs and faces!
